
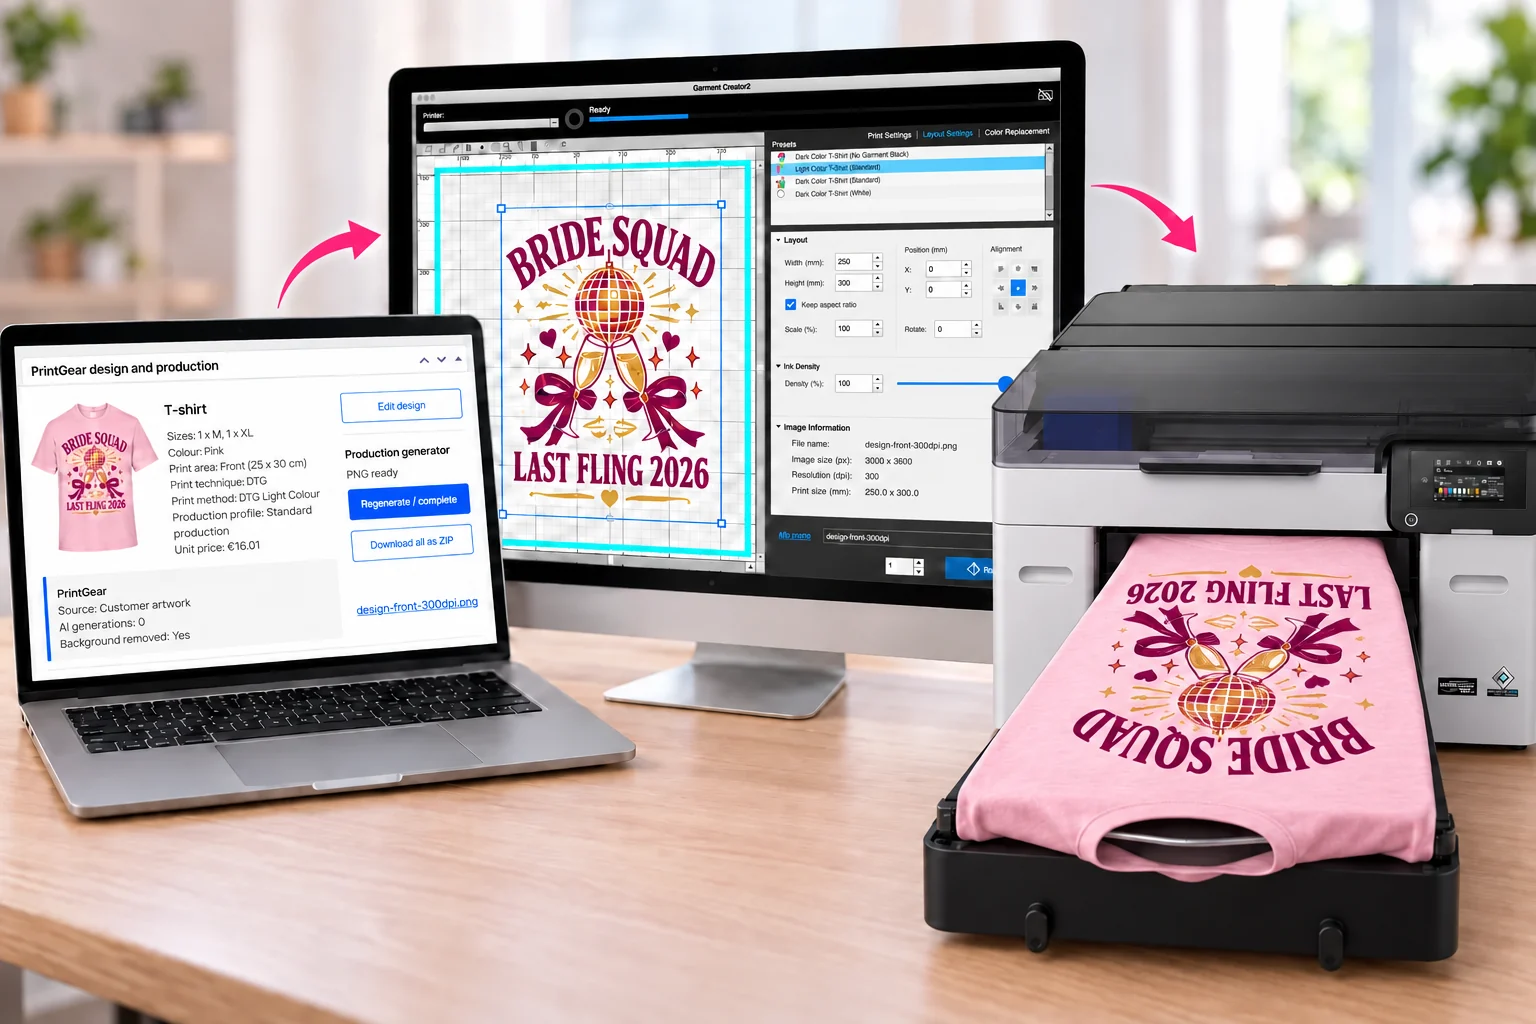
This WooCommerce product designer demo shows how PrintGear opens from a real WooCommerce product page. Click the design button to launch the T-shirt designer, choose a colour, switch print sides and preview your work. You can add text, upload a photo or create artwork with AI Studio.
AI tools in this WooCommerce product designer demo
In AI Studio, upload a source photo and describe the result you want. Choose an output type and a style, such as cartoon, sketch or vintage. PrintGear uses your photo as a reference for an image-to-image design. You can also describe an idea without a source photo. Review the generated artwork before placing it on the shirt, especially small text and fine details.
Remove backgrounds from your photos
Upload your own image, select it on the canvas and use Remove background to isolate the subject. This can help a person, object or logo sit naturally on the T-shirt instead of appearing inside a rectangular photo. Crop the image, adjust its size and position, and check the edges against the selected fabric colour. The background removal guide shows what to look for in the preview.
See the WooCommerce workflow
This is a live variable WooCommerce product with size variations and a PrintGear designer link. The design button belongs to your store, so you can change its label to match your language and tone. This demo lets you explore design and preview; checkout is unavailable here. Explore more AI design tools for personalized products or compare the features in PrintGear plans.
PrintGear Pro includes AI Studio, AI-assisted design generation and background removal. The available credits and features depend on your plan. For details of the product setup behind this WooCommerce product designer demo, see WooCommerce’s variable product guide. Try another photo, style or layout to see how the tools fit your store.